Navigate this How-To Guide
The RAPTOR Fibreglass Repair Kit is a complete, easy-to-use repair solution designed for tough fibreglass repairs across a wide range of substrates. Whether you’re repairing automotive panels, boats, trailers, gutters or general home DIY, this kit forms a durable, lightweight, fibreglass-reinforced repair that permanently retains its shape.
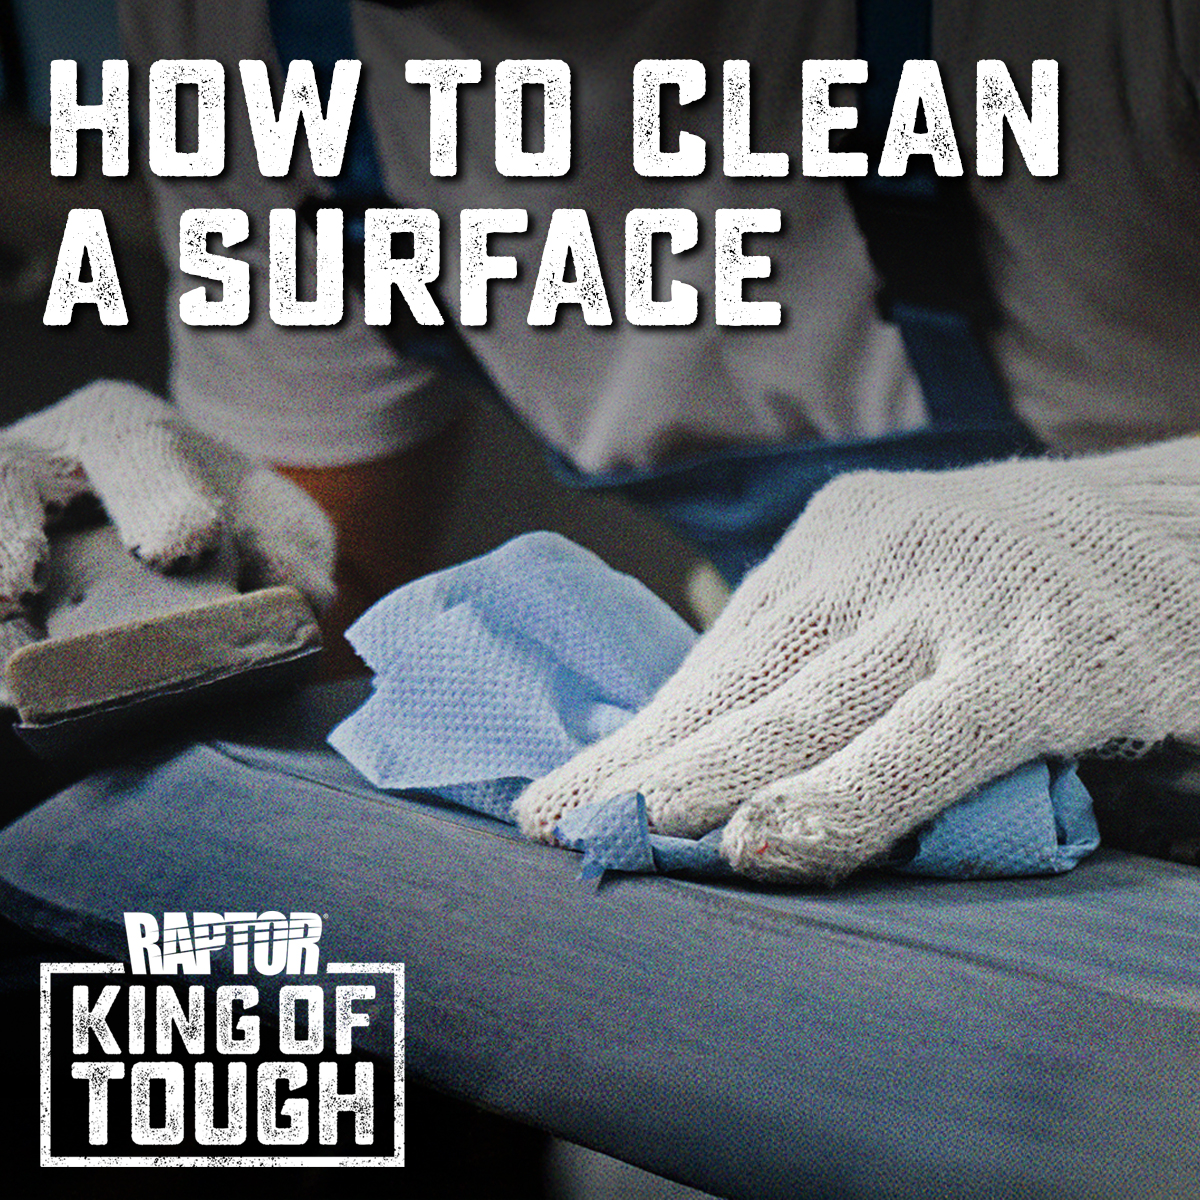
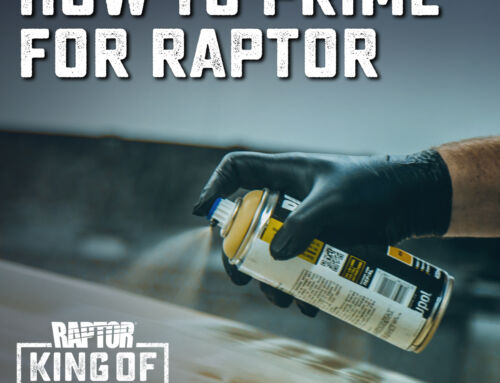
Be sure to check out our How-To Guides on cleaning and sanding surfaces and ensure you are wearing the appropriate PPE before starting your repair. Always read the RAPTOR Fibreglass Repair Kit Technical Data Sheet prior to application, and feel free to reach out to our team if you have any questions.
What’s Included in the RAPTOR Fibreglass Repair Kit?
The RAPTOR Fibreglass Repair Kit contains everything required to complete your repair, ensure you have all the below before taking on your project:
- Fibreglass resin
- Hardener
- Fibreglass matting
- Mixing cup and tools
- Application brush

Where Can the RAPTOR Fibreglass Repair Kit be Used?
The RAPTOR Fibreglass Repair Kit is ideal for:
- Repairing holes, cracks and splits in fibreglass
- Bridging rust holes in metal panels
- Repairs on boats and high moisture environments
- Repairs on wood, brick, hard plastics and composite materials
Fibreglass-reinforced repairs are perfect where strength and durability are essential.

Step 1 – Prepare Your Surface
For a complete run down on preparing your surface ready for filler, check out our guides on How-To Clean a Surface and How-To Sand a Surface. Here’s a quick rundown on the necessary steps before application:
- Clean and degrease the repair area
- Remove rust, loose coatings and surfaces, or unstable materials
- Sand the repair area (read the TDS for the correct grit for each substrate)
- Re-clean the surface to remove any sanding residue and contaminants
- For best results, ensure the repair area is structurally stable before applying the fibreglass mat.

Step 2 – Cut and Prepare the Fibreglass mat
The first step in taking on your fibreglass repair is to prepare your fibreglass matting to suit your repair area. Properly measure, cut, and prepare your layers, ensuring you have enough to completely bridge any holes or damage
- Measure and cut the fibreglass matting to cover the repair area
- Allow for at least 25mm overlap when repairing holes
- Prepare multiple layers for additional reinforcement if required. Overlapping layers increases strength, particularly when bridging holes or structural damage.

Step 3 – Mix the Resin
Once you’ve prepped your mat, it’s time to mix the resin. Accurate measuring and thorough mixing are essential for curing, strength and performance.
- Pour 44ml of resin into the measuring cup
- Add a 25mm length of hardener
- Mix thoroughly until no hardener or streaking is visible and it is uniform in colour
- You will now have 5 minutes to apply your resin
Be sure to dispose of your resin properly when you are done, DO NOT return it to your existing resin container.

Step 4 – Tackle Your Repair
Now it’s time to apply, it is important to ensure your fibreglass mat has been thoroughly wet through with resin as you apply each layer.
- Use the brush to apply a layer of resin to the surface before laying down your mat
- Lay down your first layer of matting before applying more fibreglass over the top. Avoid air bubbles and entrapment between layers
- Repeat this process until you’ve built up your repair as needed and ensure your matting is completely wet through
- For deep or structural repairs, ensure your previous application has cooled or initially cured through before building thickness

Step 5 – Curing and Sanding
It is important to allow your resin to flash off and initially cure before sanding and shaping.
- Initial cure in approximately 30 minutes at 20°C and depending on depth of repair
- After the initial cure, the repair can be shaped with p80-p120 grit and finished, ready for filler or primer with p180-p240 grit
- We recommend allowing for a full 24-hour curing period to ensure your repair reaches maximum strength and durability.
It is important to allow for a full cure before using your repair and to allow for a tough, waterproof and weatherproof surface suitable for demanding environments.

Step 6 – Cleaning Your Equipment
- Properly dispose of activated resin, DO NOT return it to your original container
- Clean all your equipment with acetone immediately after use to ensure you can use it again for any future repairs

Pro Tips for Professional Results
- Work in manageable sections to avoid resin curing too quickly or excess heat build up
- Always fully wet the fibreglass mat through
- Layer over multiple applications and cooling periods for structural repairs
- Ensure your equipment is always cleaned after use, ready for your next project

Frequently Asked Questions
Can RAPTOR Fibreglass Repair Kits be used on metal?
Yes. It bonds to metal, wood, brick, hard plastics and fibreglass surfaces when properly prepared. Refer to the Technical Data Sheet on how to prepare each surface
Is the RAPTOR Fibreglass Repair Kit waterproof?
Yes. Once fully cured, the repair is waterproof and weather resistant.
What is the coverage of the RAPTOR Fibreglass Repair Kit?
The RAPTOR Fibreglass Repair Kit provides up to approximately 0.5m²