Navigate this How-To Guide
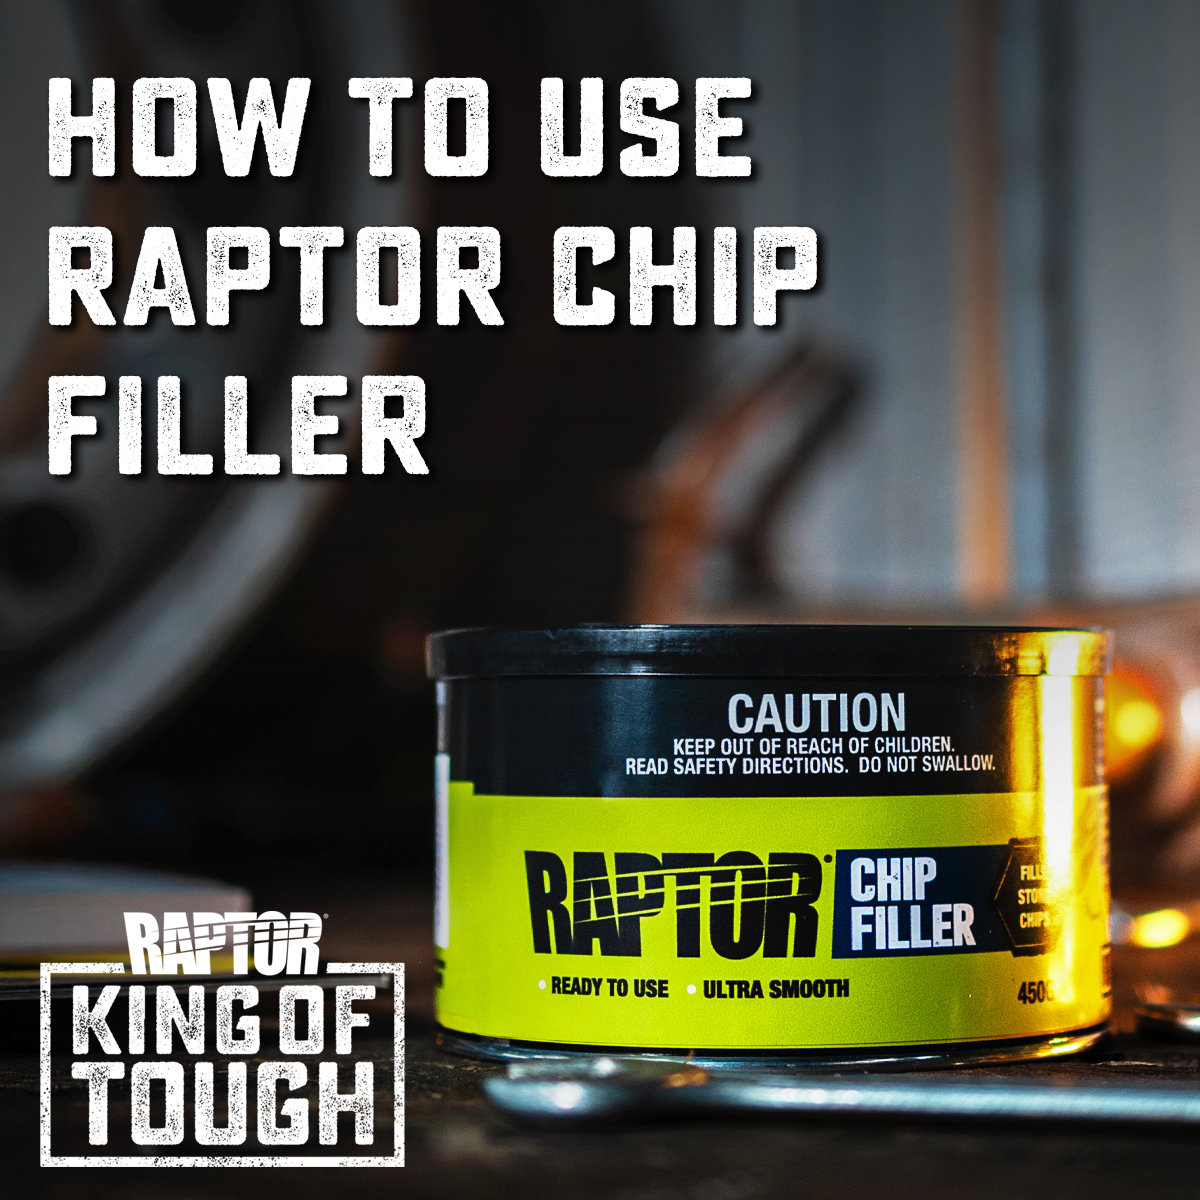
RAPTOR Chip Filler is a durable, easy-to-use 1K filler specially formulated for repairing fine scratches, stone chips and other minor surface damage. Ready to use straight from the tin, it requires no mixing or hardener, making it the ideal solution for quick repairs and last-minute body work.
Be sure to check out our How-To Guides on cleaning and sanding surfaces and ensure you are wearing the appropriate PPE before taking on any project. Take the time to read the RAPTOR Chip Filler Technical Data Sheet prior to application, and feel free to reach out to our team should you have any questions.
Where Can RAPTOR Chip Filler be Used?
RAPTOR Chip Filler is ideal for:
- Filling stone chips and small paint damage
- Repairing fine scratches and light surface defects
- Spot repairs before coating
- Minor imperfections in body filler
Its ready-to-use 1K formulation makes it perfect for fine finishing work where precision, speed and ease of application are essential.

Step 1 – Prepare Your Surface
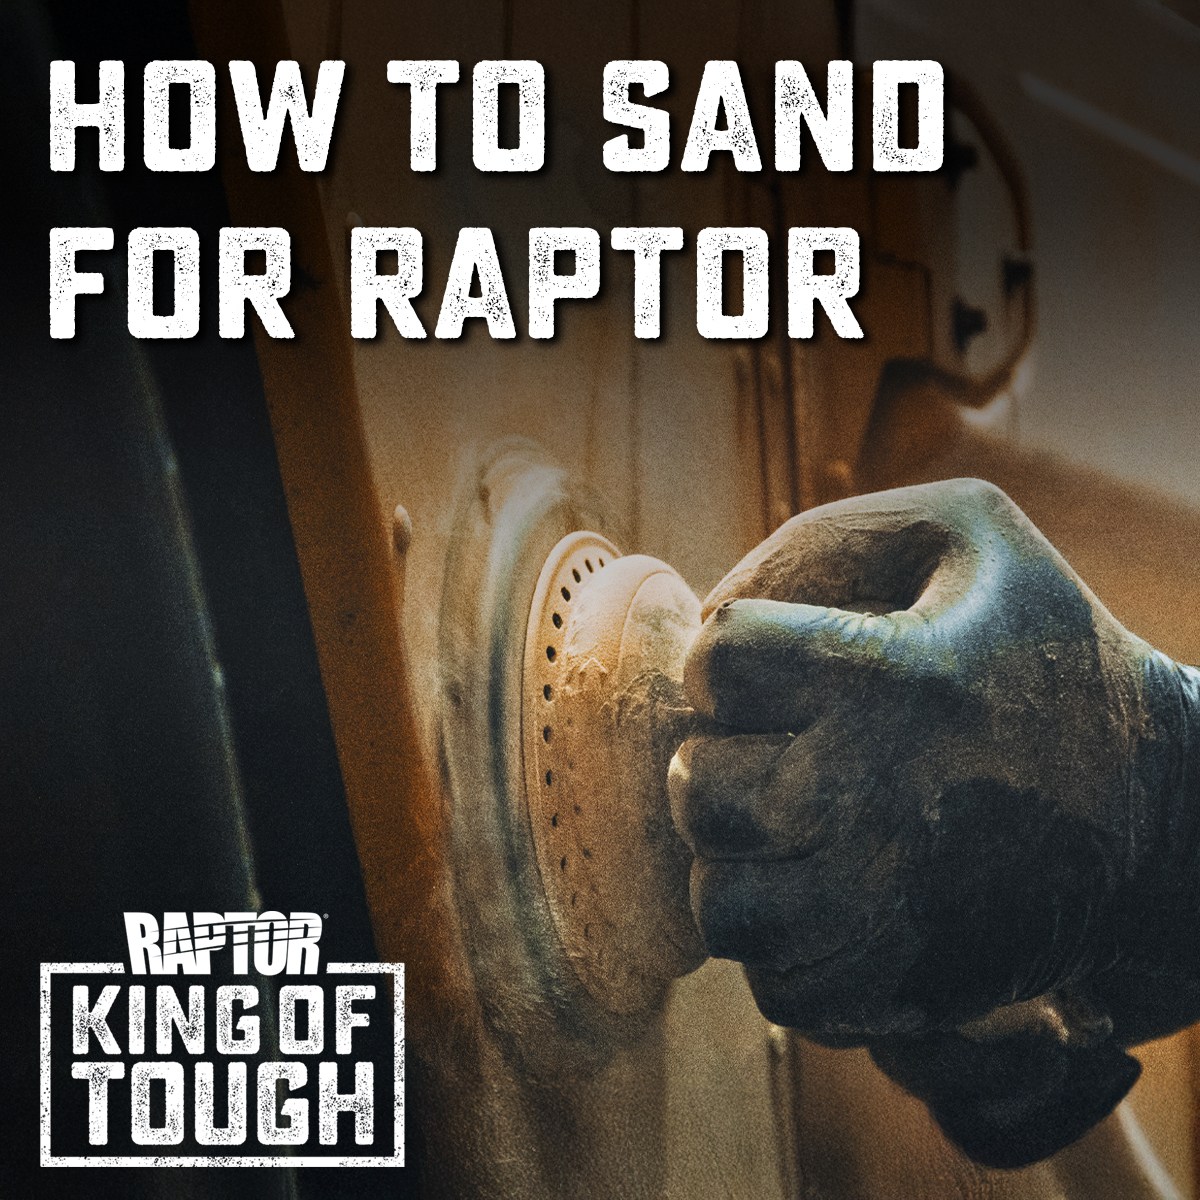
For a complete run down on preparing your surface ready for filler, check out our guides on How-To Clean a Surface and How-To Sand a Surface. Here’s a quick rundown on the necessary steps before application:
- Clean and degrease the repair area
- Remove rust, loose coatings and fibreglass, or unstable materials
- Sand the repair area (read the TDS for the correct grit for each substrate)
- Re-clean the surface to remove any sanding residue and contaminants

Step 2 – Applying Your Filler
Unlike other fillers in the range, RAPTOR Chip Filler is a 1K product and requires no hardener or mixing. Simply stir if required and apply directly from the tin using the supplied applicator.
Application tips:
- Apply in thin layers rather than one heavy coat
- Maximum fill depth in a single application: 1mm
- For repairs deeper than 3mm, we recommend using RAPTOR Body Filler
- Use steady. even pressure to reduce trapped air
Applying thin layers ensures proper drying and reduces the risk of shrinkage or surface marking.

Step 3 – Curing and Sanding
RAPTOR Chip Filler is fast drying and ideal for quick, minor body work and repairs.
Your RAPTOR Chip Filler will be ready to sand after 15 minutes. Designed for fine repairs, aggressive sanding is not required. The goal is to feather the repair smoothly into the surrounding surface.
Sanding: P320 to finish prior to coating
Coating: It can be primed and coated 1 hour after your last application of filler.

Pro Tips for Professional Results
- Always apply thin layers, no more than 1mm per application
- Allow for 15-20 minutes between applications
- Use a fine sandpaper to feather the edges of your repair for a seamless blend
- Use as a finishing repair solution for minor chips or existing filler
- Maximum build depth for complete repair 3mm

Frequently Asked Questions
Do I need to mix hardener with RAPTOR Chip Filler?
No. RAPTOR Chip Filler is a 1K formulation and is ready to use straight from the tin.
How thick can RAPTOR Chip Filler be applied?
Apply no more than 1 mm per application, up to a maximum total depth of 3 mm.
How long does RAPTOR Chip Filler take to dry?
It dries in approximately 15–20 minutes between applications and is ready to coat after 1 hour.
Is RAPTOR Chip Filler for large repairs?
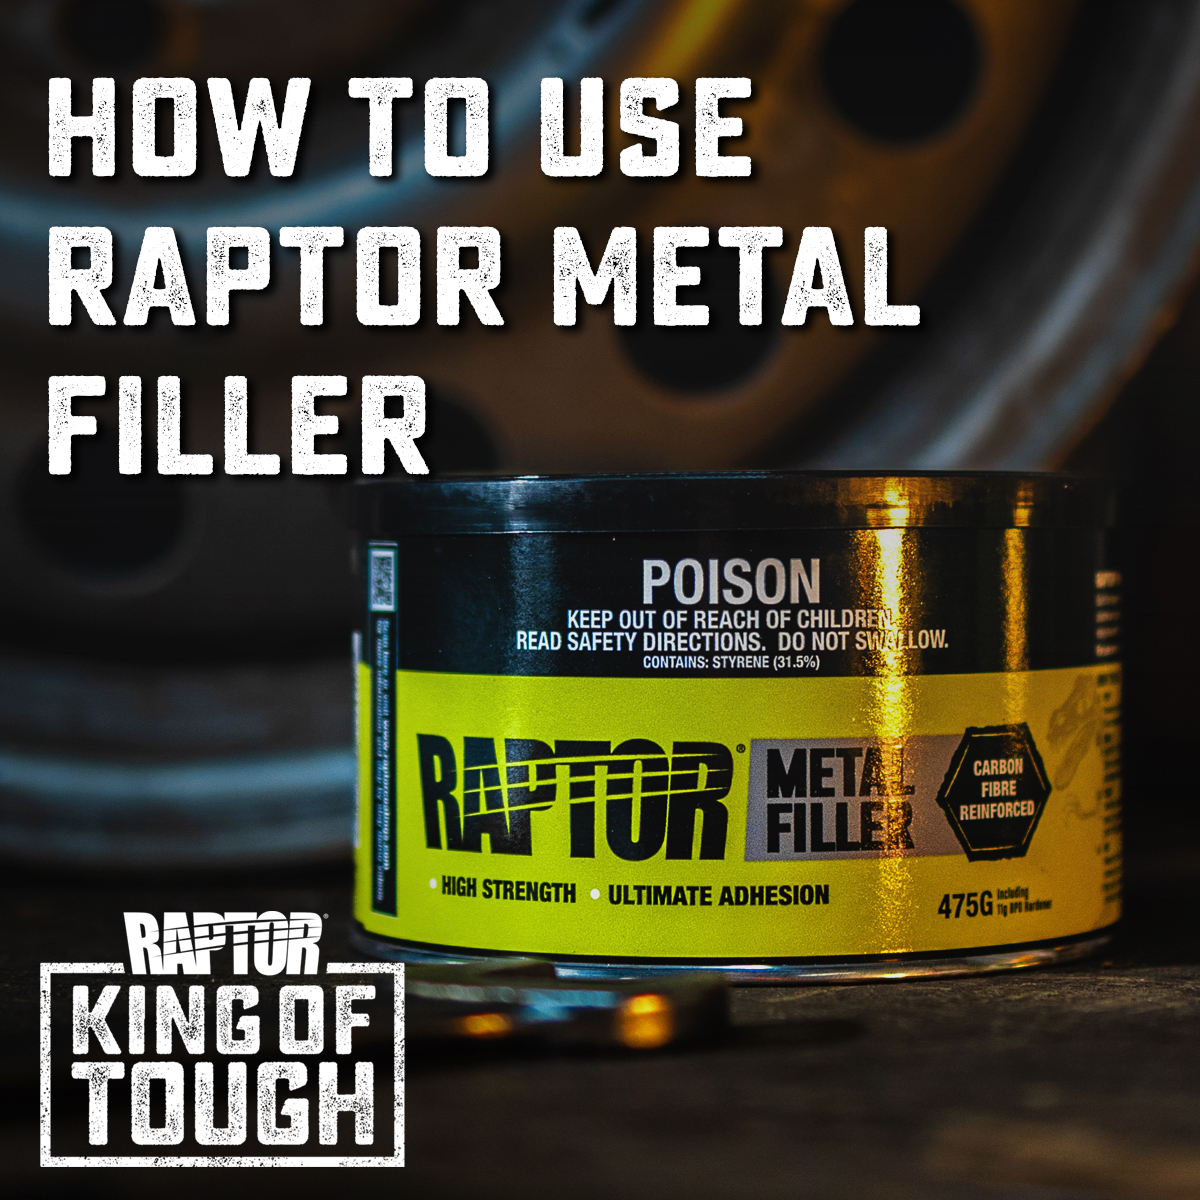
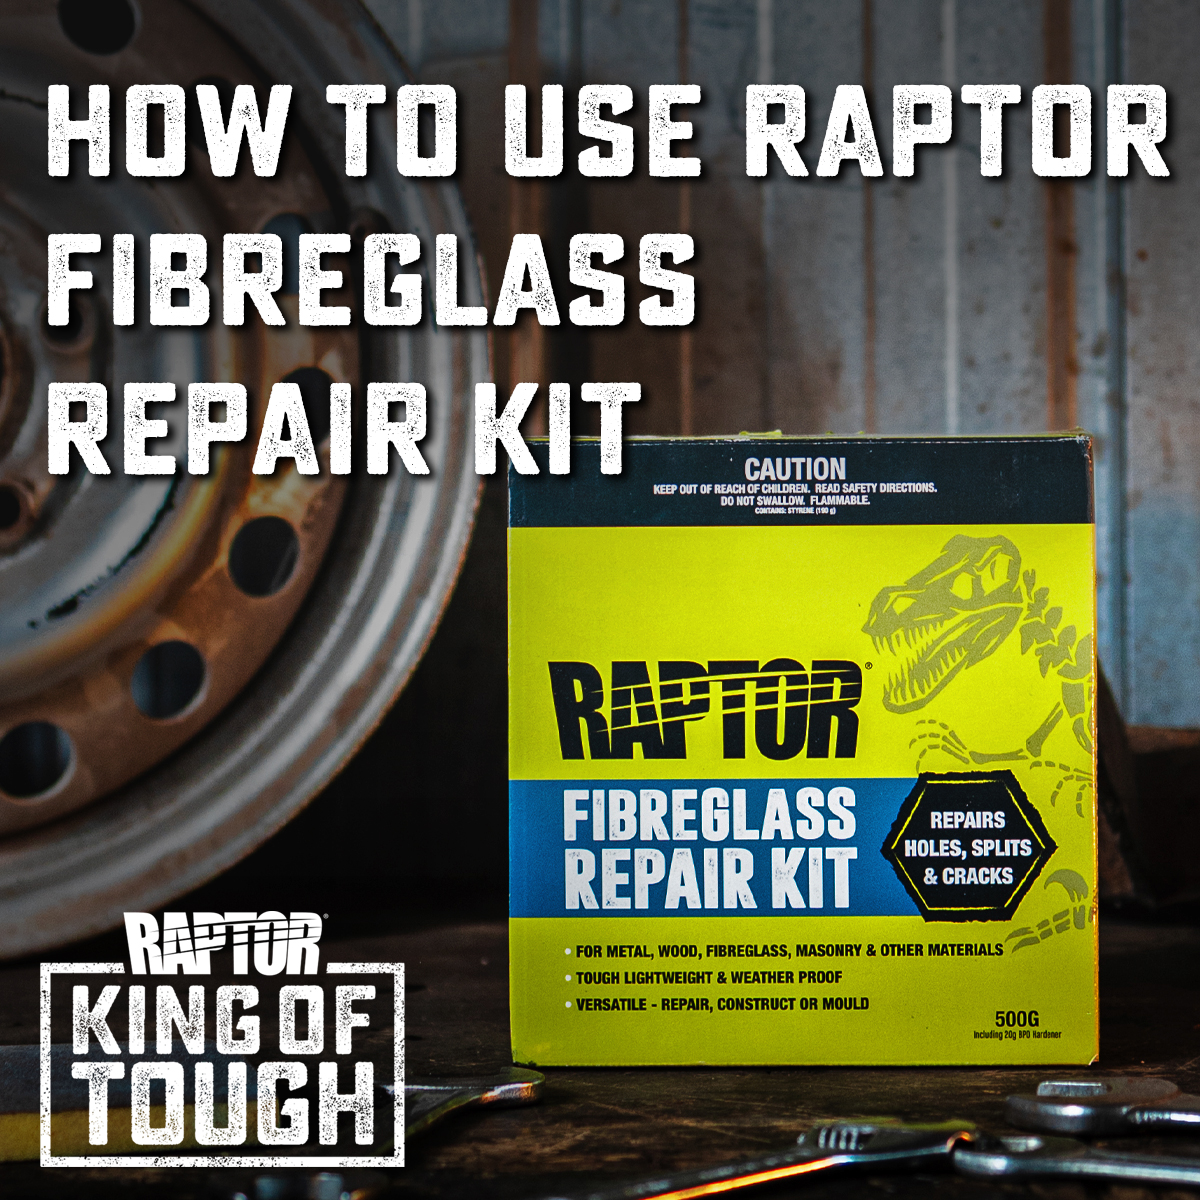
RAPTOR Chip Filler is designed for fine repairs. For deeper damage, we recommend RAPTOR Body Filler or RAPTOR Fibreglass Filler.