Navigate this How-To Guide
Priming is one of the most important steps when applying RAPTOR, helping to improve adhesion, enhancing your final finish, preventing corrosion, and protecting the surface underneath.
If you’ve ever experienced peeling, lifting, rust bleed-through, or bubbling, the cause is very often traced back to how the surface was primed. This How-To Guide will cover how to correctly apply primer, and which RAPTOR Primer is the one for your project.
Why Do I Need to Use Primer?
Primers aren’t just used to promote adhesion; they’re designed to support and improve your project and final finish. Correctly priming a surface is an essential step to a durable, long lasting professional finish.
Preventing Corrosion
- Bare metal will begin oxidising quickly, sometimes within hours depending on conditions such as temperature and humidity. Priming a bare metal surface is a must, forming an anti-corrosive barrier to prevent bare metal from rusting.
Improving adhesion
- Some substrates are notoriously difficult for coatings to bond to due to factors such as flexibility, residual oils, existing coatings, and more. It’s important to understand the surface you’re coating and to use the correct primer to ensure adhesion for a tough, hard-wearing finish.
Enhanced Performance
- A properly primed surface will enhance the performance of your RAPTOR Coating. Making use of a high build primer will ensure you have a uniform and even surface to topcoat. Whereas, using a product such as RAPTOR Anti-Corrosive Epoxy Primer will enhance the durability and longevity of products such as RAPTOR 2K Protective Coating.

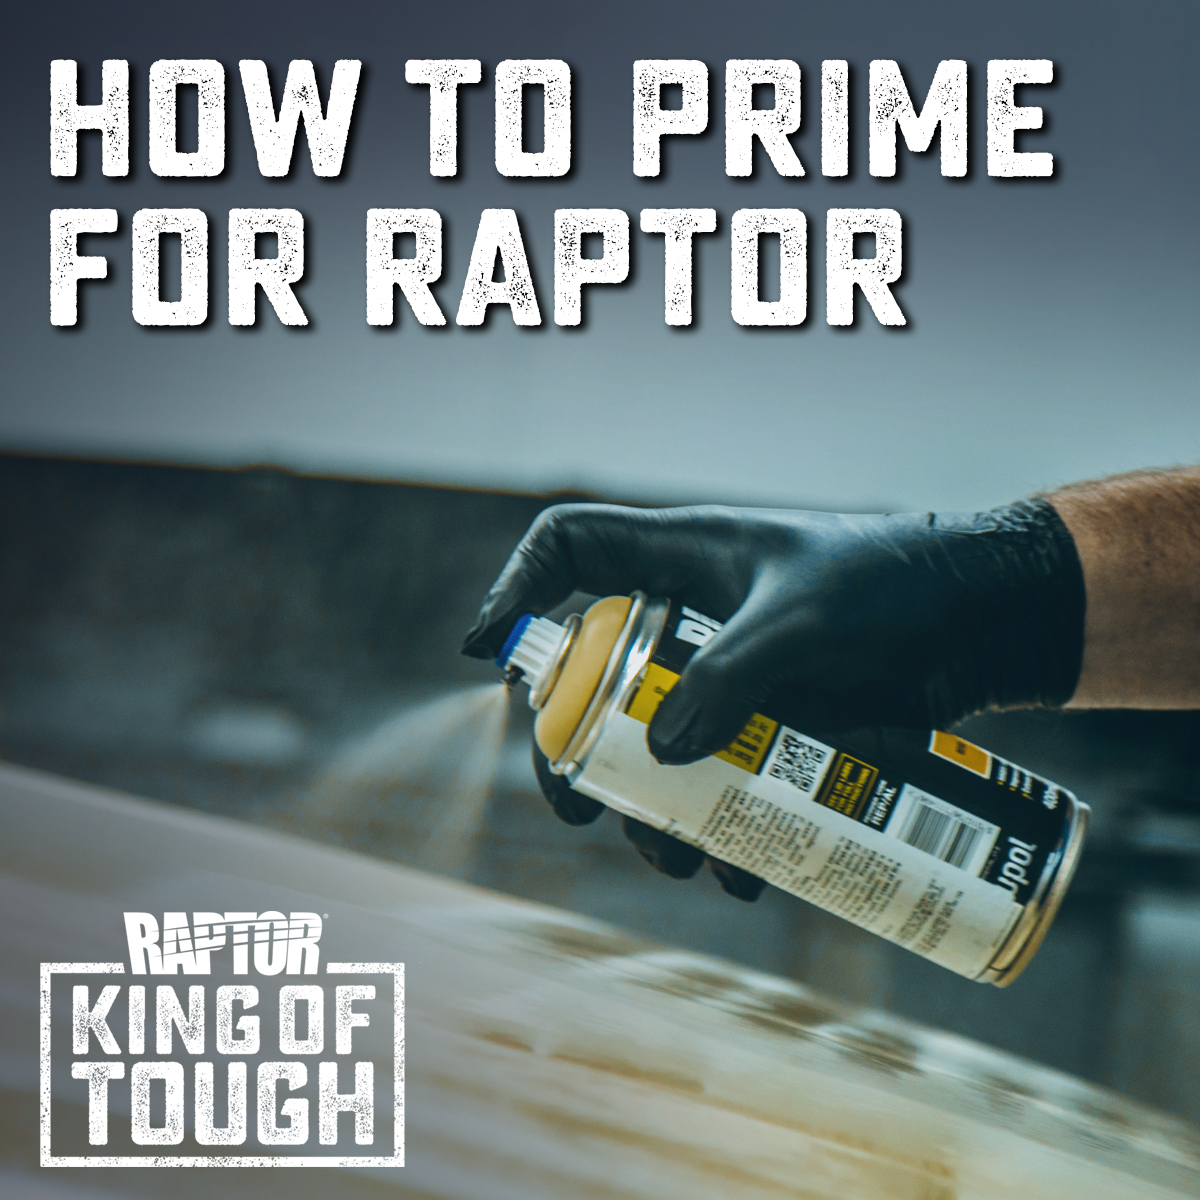
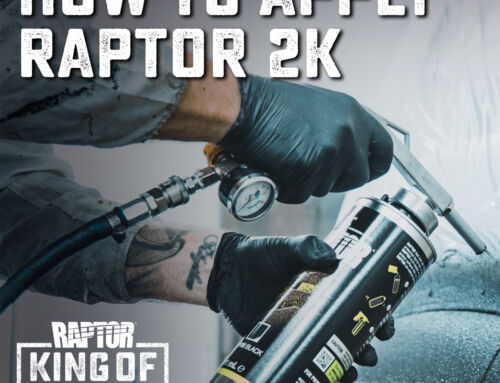
How to Apply Primer
One of the most common issues we see when applying any form of coating, particularly primer, is rushing the process. Majority of issues are process-related, always be sure to read the full Technical Data Sheet (TDS) for your relevant product beginning application.
Two of the key issues we see when it comes to priming a surface are
Heavy and rushed applications, which can create solvent capture, where solvents become trapped under the surface. This can lead to poor adhesion, bubbling, and failing topcoats. These few tips are always good to keep in mind when priming your surface, but always be sure to apply as per the relevant TDS,
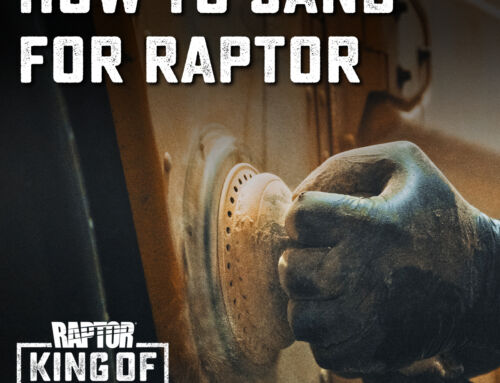
- Apply light-medium coats
- Allow for the appropriate flash-off time between coats
- Don’t rush the application of your topcoat
The second common issue we see is leaving too long between priming and top coating. As usual, it is essential to refer to your specific primers TDS document, as certain primers require a light abrasion prior to top coating if left for more than a few hours to cure.
Reading the TDS is crucial prior to taking on project, you would read an instructional manual prior to building a piece of furniture, applying RAPTOR products is no different.

What RAPTOR Primer Do I Need?
With a wide range of RAPTOR Primers available, purpose-built to suit different substrates, project sizes and tough environments, it’s important to understand which primer you will need for your project
Pro Tips for Professional Results
- Always read the relevant TDS for your primer
- Using primer is always best practice to ensure professional results
- Don’t rush, allow for the appropriate flash-off time between coats
- Apply light-medium coats
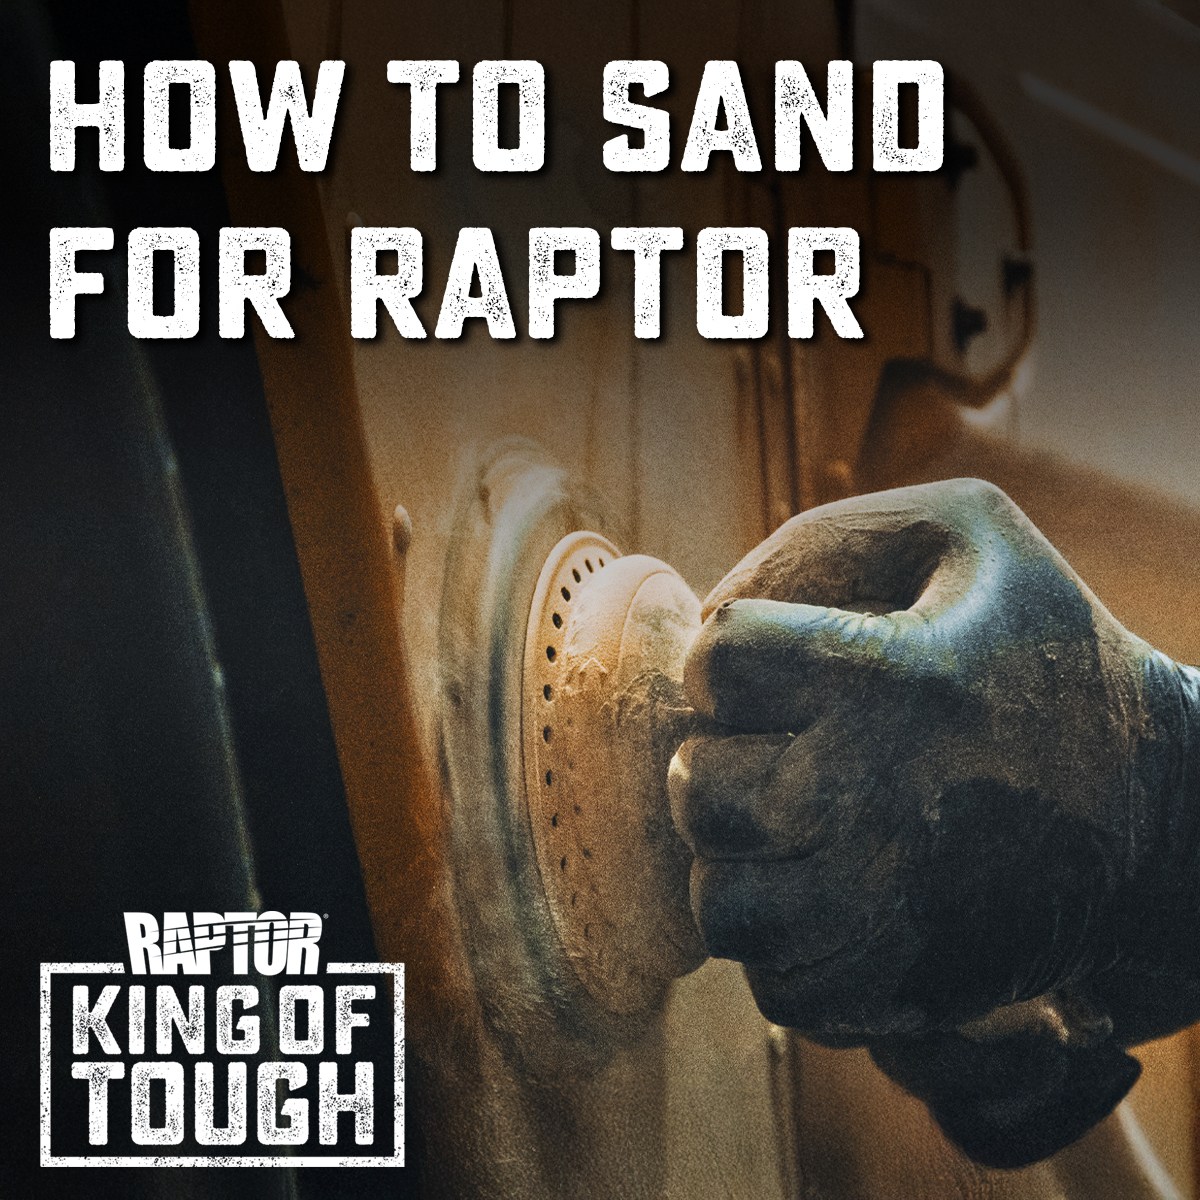
- Check if your primer requires sanding before coating