Navigate this How-To Guide
How to Clean a Surface for RAPTOR
Preparation is the key to achieving professional results. We like to say, prep is 90% of the work. Poor surface prep will compromise the finish, adhesion, and toughness of RAPTOR, regardless of how well the product is applied.
This How-To Guide focusses on cleaning and preparing your surface prior to masking and sanding, ensuring you’ve got a solid foundation ready for your next steps
What PPE do you need for RAPTOR?
Before taking on any project, you must gear up with the appropriate PPE. Solvents found in paints and cleaners, dust from sanding and debris, loose rust particles, are all potential hazards and health risks.
We recommend the following PPE for any RAPTOR project
- Nitrile gloves
- Safety glasses
- Dust masks and approved respirators
- Protective coveralls

Remove All Trim and Components
Where possible, we recommend removing any components, trims, lights, badges, decals, etc. that may interfere with proper cleaning or surface prep. This will allow for full access to your surface, ensuring a professional looking finish and reduces the risk of contaminants being trapped around edges or fittings.
If trims or components can’t be removed, take the time to mask them properly to protect surrounding areas.

Remove Loose Material and Rust
Your coating is only as good as the surface it’s applied to. Ensure that all loose or unstable materials are removed prior to coating or repair. This includes
- Flaking paint
- Rust and corrosion
- Old or failing coatings
Applying RAPTOR products over flaking paint or failing clearcoat will cause your final finish to lift and fail as the underlying surface breaks down. Similarly, all signs of rust and corrosion should be removed and properly treated or taken back to bare metal ready for primer. Active rust left beneath a coating can prevent adhesion and cause bubbling or flaking in the final finish.

Clean and Degrease the Surface
A common question we get asked is, should you clean before sanding? The answer is yes. Cleaning before sanding prevents contaminants from embedding into the surface during the sanding process. For any project you should clean both before and after sanding.
Clean before sanding: Removes contaminants that may become embedded in the surface
Clean after sanding: Removes all dust, and residue preparing the surface for filling or coating.
When it comes to selecting the correct cleaning products, we recommend using U-POL S2000 Water-Based Degreaser to prepare surfaces for RAPTOR. However, other quality water-based or solvent-based degreasers can also suit. It is important to ensure these two key points when choosing your cleaning agent.
- Ensure your cleaning agent is silicone-free for optimal adhesion
- If using a solvent-based degreaser, confirm it is compatible with your paint or substrate

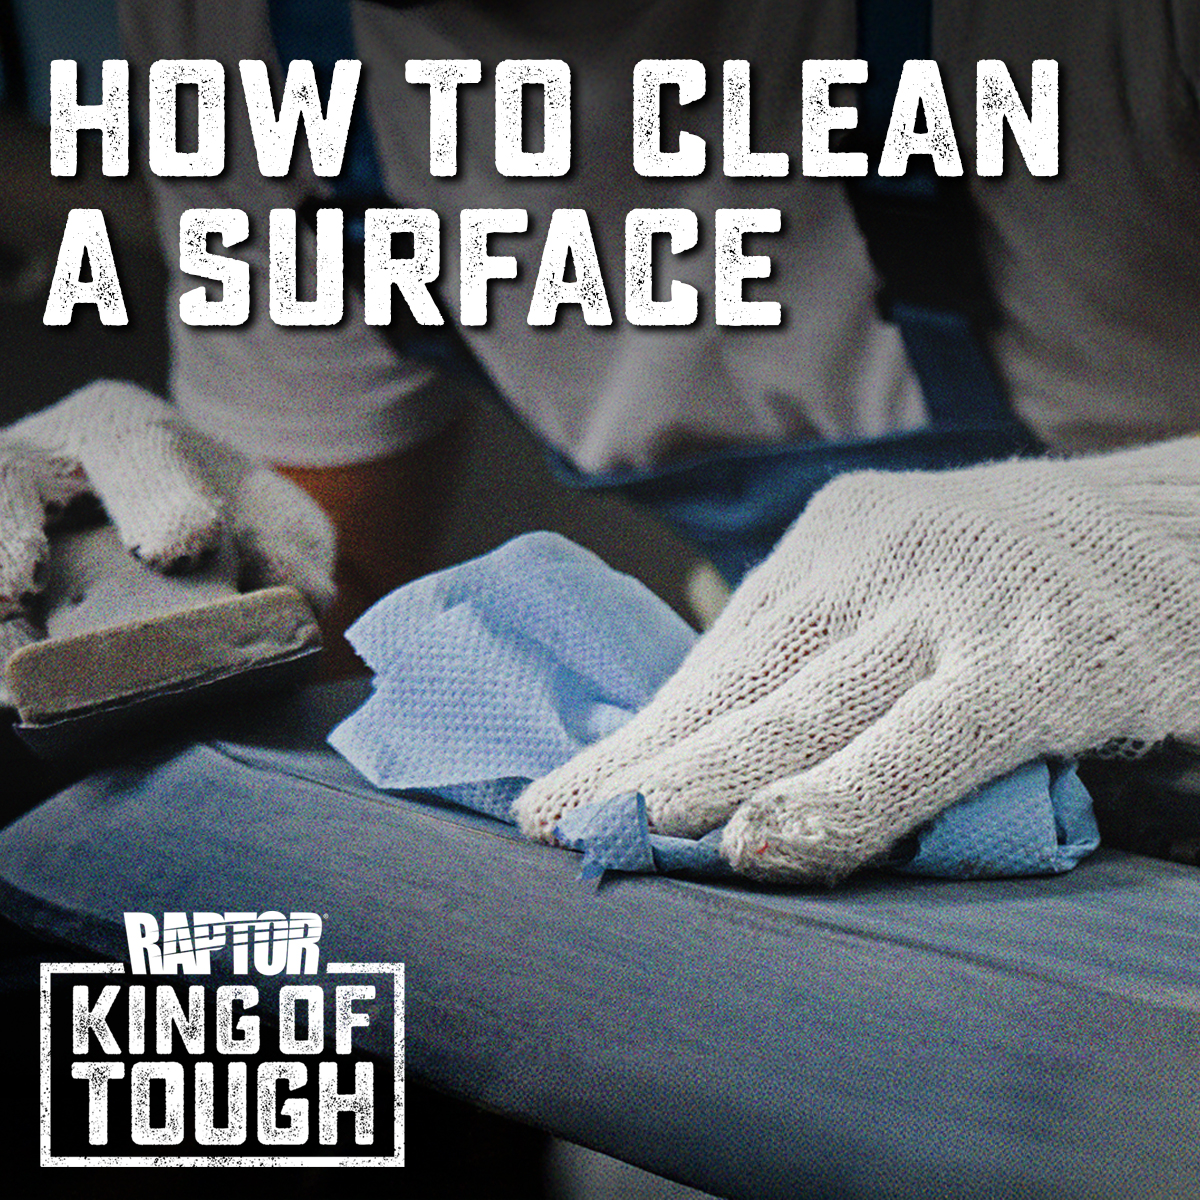
How to Properly Clean Your Surface
How you clean your surface in preparation for RAPTOR is just as important as the products you use. We suggest using a two-rag method when it comes to cleaning
- Apply the degreaser with a clean, lint-free cloth
- Wipe off with a second, clean, lint-free cloth
This method ensures contaminants are removed from the surface, as opposed to being smeared and wiped across the surface.

Check Check out this how-to video
Surface preparation isn’t the most exciting part of a project, but it’s the most important. Taking the time to correctly clean your surface ensures RAPTOR performs as intended and that you achieve professional results every time.